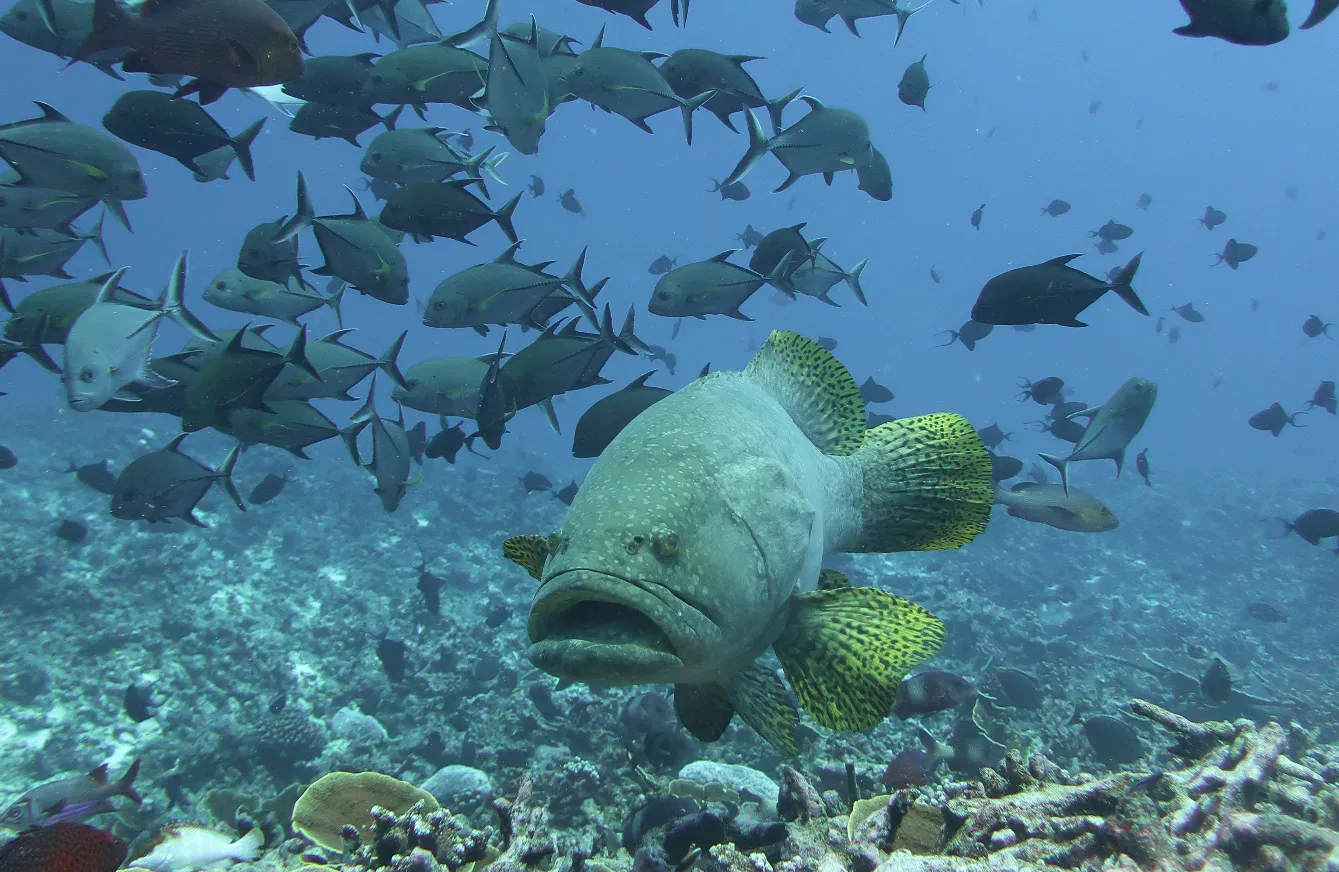
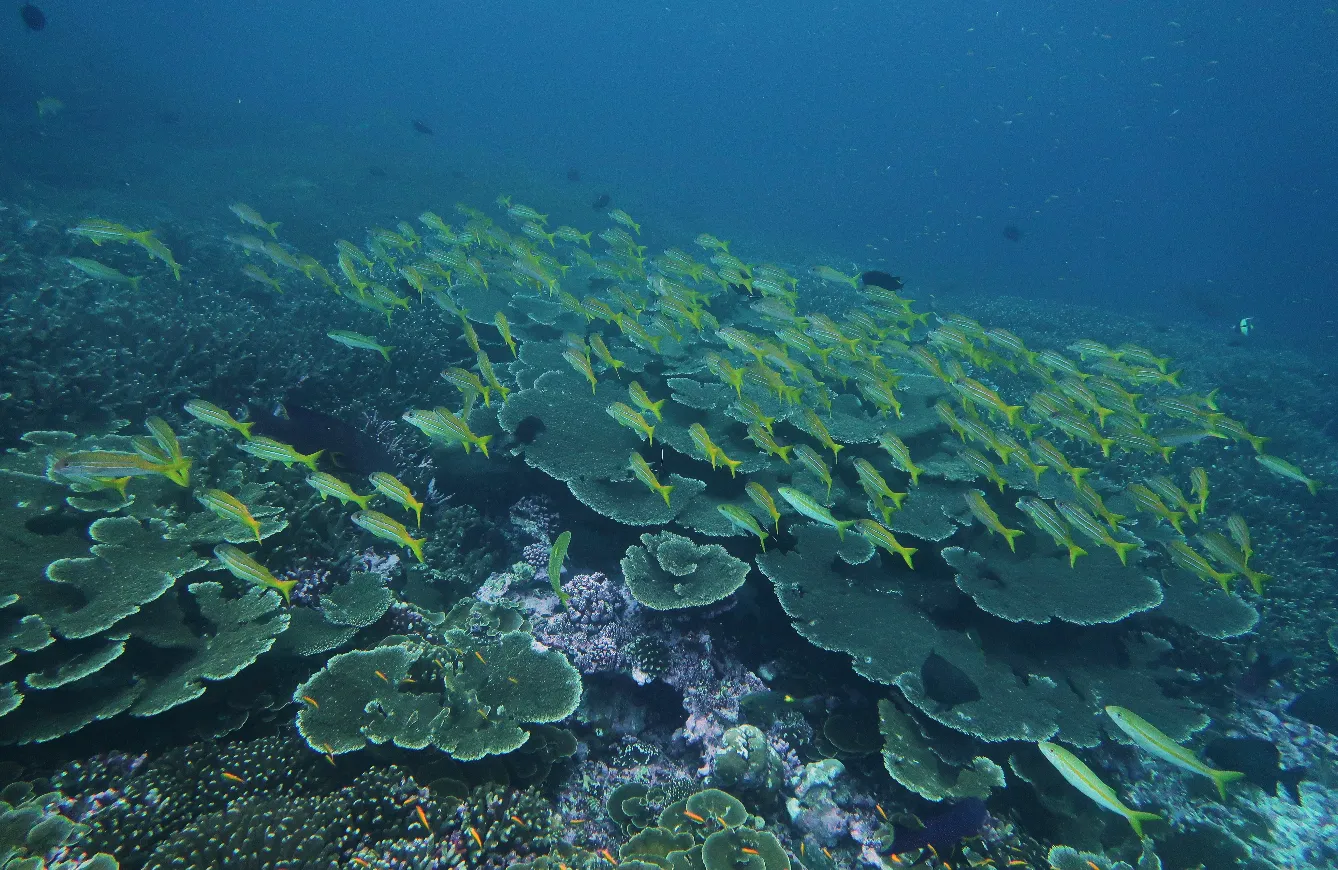
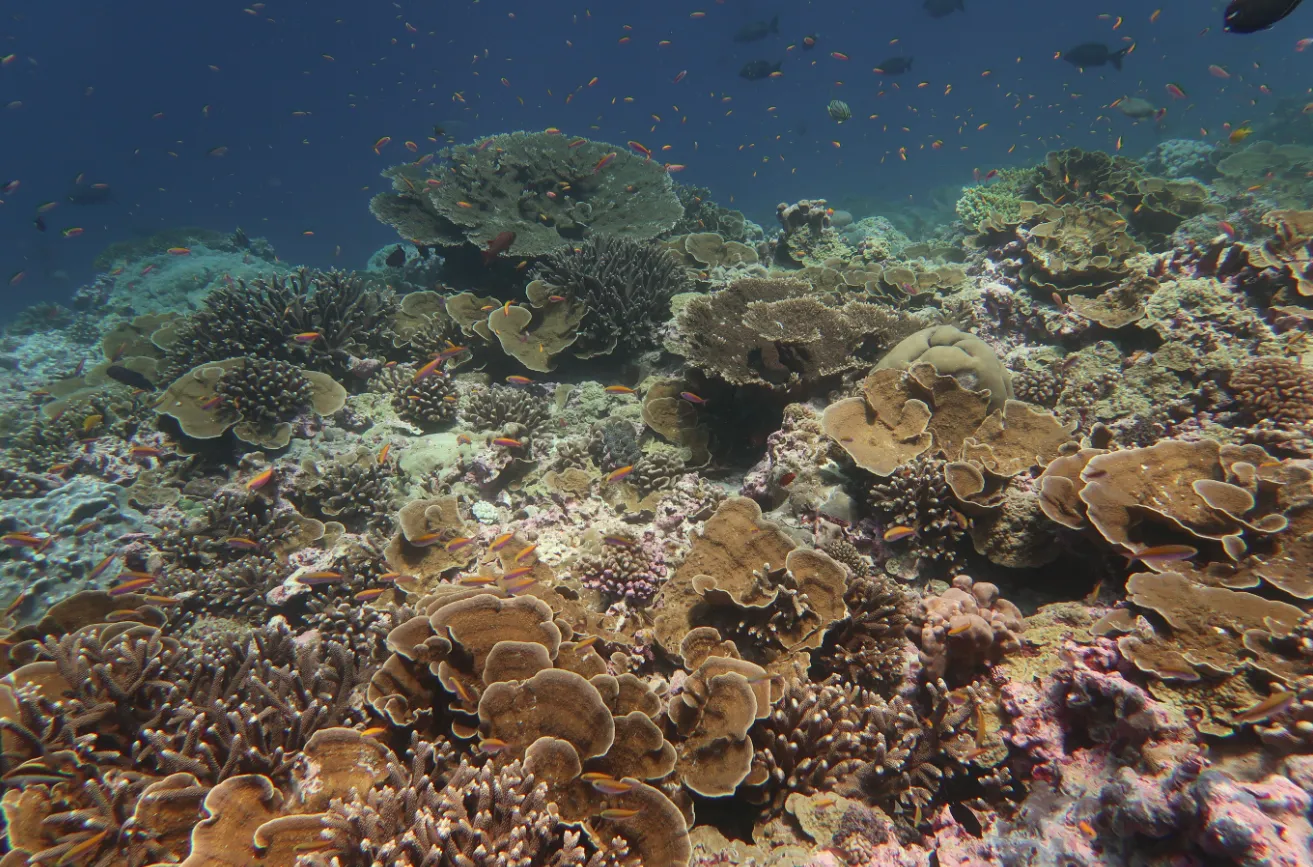
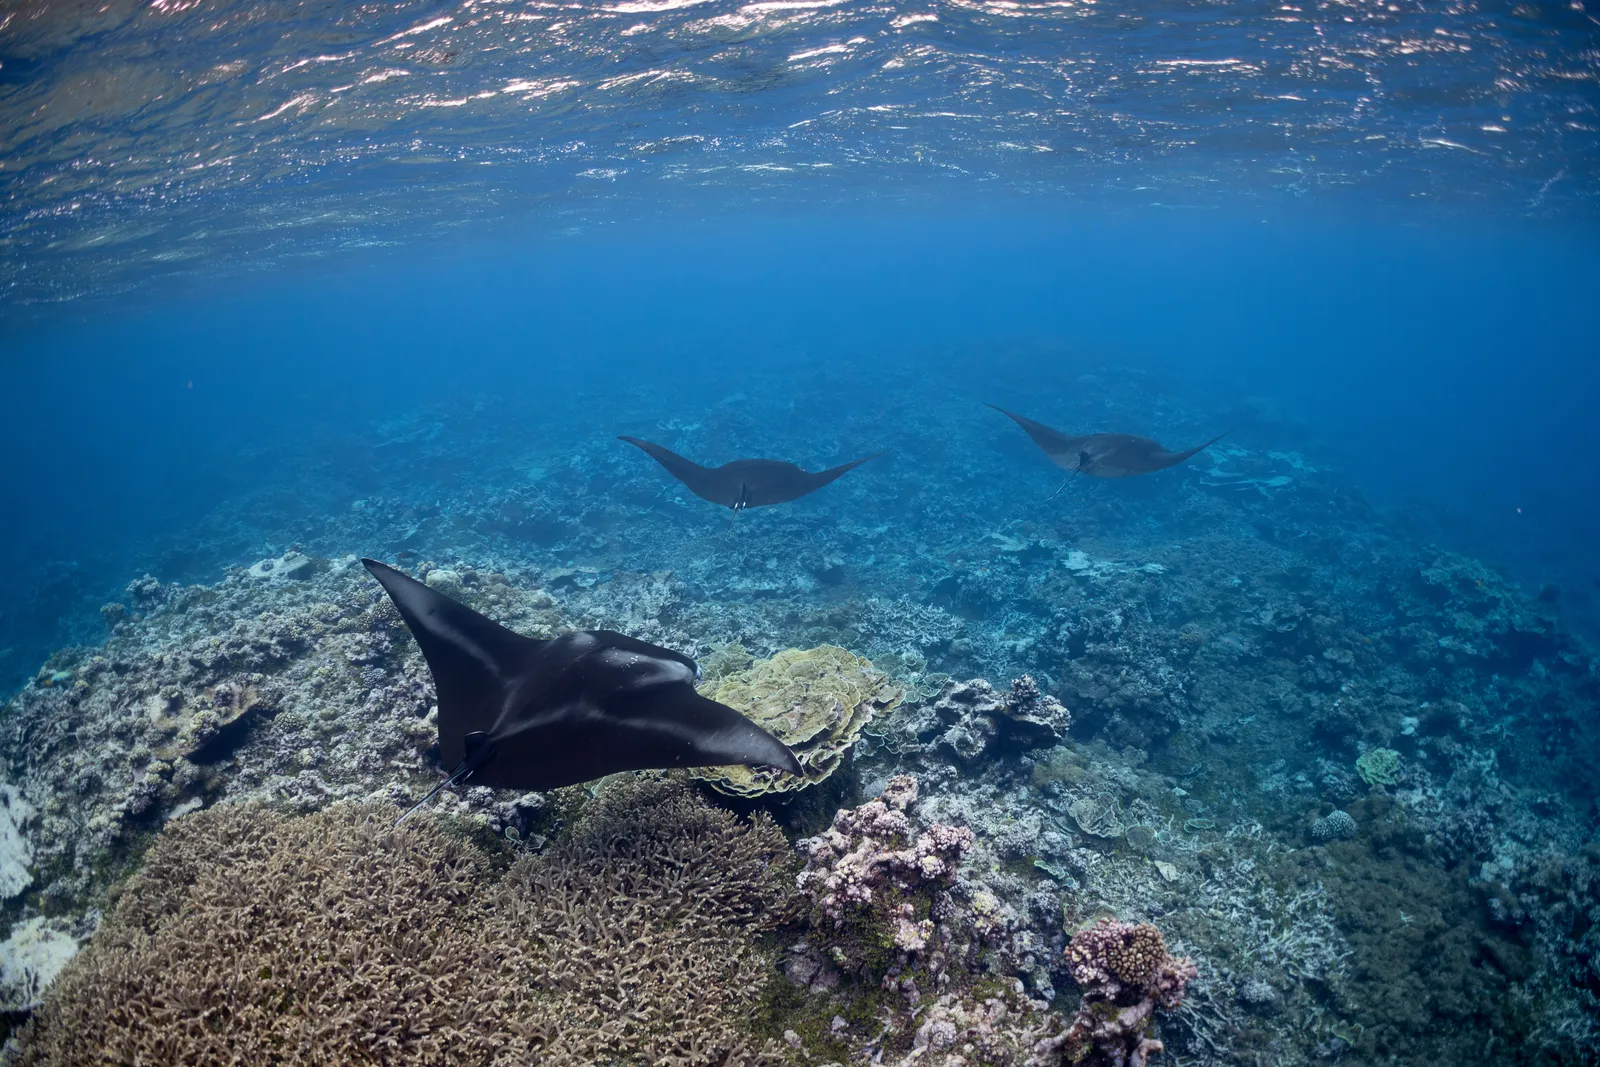
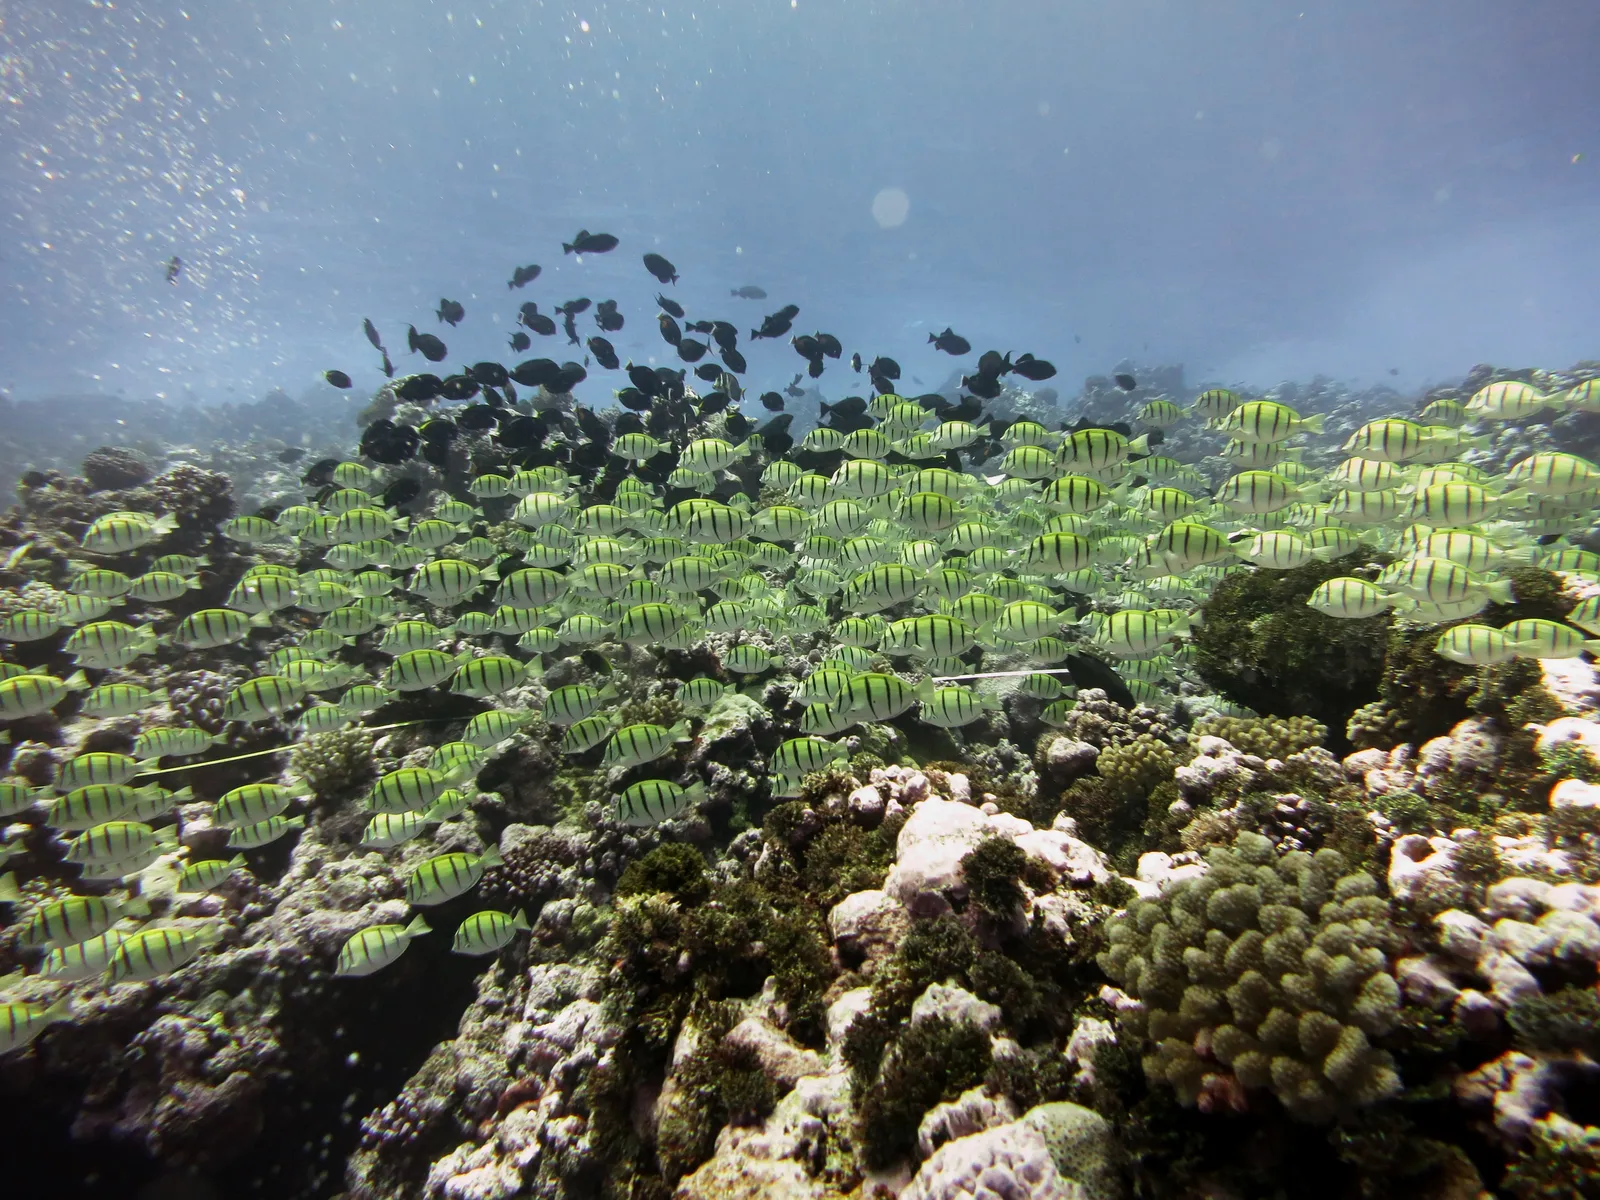
The physical structure of Sardine Reef dictates every aspect of the dive plan. The pinnacle is elongated, oriented roughly east to west, with a wide, sloping reef top covered in a dense carpet of fusiliers. The up-current side, known as the "split point," is where the dive begins and the primary action unfolds. Here, the current hits the reef structure and accelerates up and over the top, bringing a constant supply of nutrients.
Executing a dive here requires precision. Our dive tenders drop divers several meters upstream of the reef’s split point, a location confirmed by our guides using a GPS pin marked on their briefing slates. A negative entry is standard procedure, ensuring divers descend quickly through any surface chop and into the calmer water column below, arriving on the reef at a depth of 12 to 18 meters. From here, the primary technique is to secure a position with a reef hook on a bare rock or dead coral patch. This allows for a stable, low-exertion observation point from which to watch the spectacle without damaging the delicate coral substrate.
After spending the majority of the dive at the split, the plan involves releasing the hook and drifting with the current along the pinnacle’s flanks. The sides of Sardine Reef are decorated with large gorgonian sea fans and vibrant soft corals. The dive typically finishes on the leeward side of the reef, where the current slackens, allowing for a relaxed safety stop in the blue before deploying a surface marker buoy for pickup.